Introduction
Custom fonts are more than just a design choice; they can improve productivity, code readability, and even add useful symbols directly into your development workflow. One of the most popular ways developers to Patch Your Own Font is by using Nerd Fonts Tools to patch existing fonts with extra glyphs,
icons, and symbols. Whether you’re a programmer who loves ligatures in Fira Code, a power user who relies on terminal icons, or a designer seeking precision typography, font patching can be a game-changer.
Why Custom Fonts Matter for Developers and Designers
Custom fonts help improve the clarity and readability of fira code, making development faster and less tiring for the eyes. Designers also benefit from unique fonts that align with their creative vision and branding. Using the right font can boost productivity by clearly differentiating characters and symbols.
Benefits of Using Patched Nerd Fonts
Patched Nerd Fonts combine programming ligatures with a vast set of icons and glyphs, creating a unified font perfect for developers and power users. They enable the easy display of file icons, terminal symbols, and status indicators without requiring font changes. This improves workflow by reducing context switching and clutter.
What Are Nerd Fonts Tools and How Do They Work?
Nerd Fonts Tools are scripts and utilities designed to patch existing fonts by adding an extensive collection of developer-friendly icons and glyphs. These tools automate the merging process, combining the base font’s characters with glyphs from icon sets like Font Awesome and Devicons.
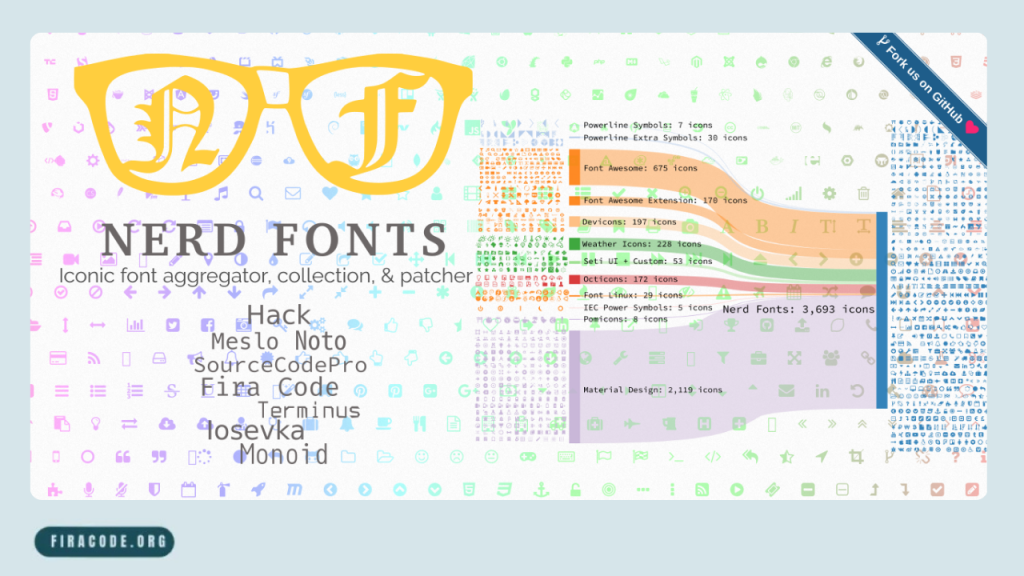
Overview of Nerd Fonts Project
The Nerd Fonts project aims to provide developers with patched fonts that include popular icon sets used in programming and terminal environments. It leverages popular open-source fonts and incorporates hundreds of glyphs from icon packs, enhancing the coding experience.
The project supports multiple platforms and editors, ensuring broad compatibility across various devices and editing tools.
How Glyphs and Icons Are Added to Fonts
This process involves font editing software or scripts that copy and remap glyphs. The patched font then supports both the original font’s characters and new icons seamlessly. This allows easy use of icons in terminals, editors, and even web applications. For advanced guidance, see Fira Code Monospaced Font Enhancements.
Everyday Use Cases for Patched Fonts
Patched fonts are widely used in code editors like VSCode and terminals, such as iTerm2 or Windows Terminal, to display icons alongside filenames or in status bars. They enhance developer tools like tmux and powerline by showing helpful symbols. Designers may also use patched fonts for mockups or UI design that requires consistent iconography.
Preparing To Patch Your Own Font
Before patching, it’s essential to select a font compatible with Nerd Fonts Tools, preferably one that supports ligatures if desired. The font file should be in a supported format, such as TTF or OTF, for smooth processing. Download and install the Nerd Fonts patcher script from the official repository.
Choosing the Right Base Font (e.g., FiraCode Nerd Font VSCode)
Choosing the right base font depends on your preferences for style, readability, and support for ligatures. For developers using VSCode, FiraCode Nerd Font VSCode is popular because it combines Fira Code’s programming ligatures with Nerd Fonts icons. Other good options include Hack, JetBrains Mono, and Source Code Pro.
Downloading and Installing Nerd Fonts Tools
To patch your font, first download the Nerd Fonts Tools from their official GitHub repository. These tools include scripts that automate the patching process for different fonts. Installation is straightforward and typically involves cloning the repo or downloading the release package. Follow the instructions specific to your OS (Windows, macOS, Linux) to set up the tools.
Verifying Font File Formats
Ensure the font you want to patch is in a compatible format, typically TrueType (.ttf) or OpenType (.otf). Nerd Fonts Tools do not support web fonts or other proprietary formats. Using the correct format ensures the patcher can read and modify the font without errors. You can check your font’s format by viewing its properties on your system or using font management software.
Step-by-Step Guide to Patching Your Font
Patching your font with Nerd Fonts Tools is a straightforward process that enhances your coding environment with additional icons and glyphs. Start by running the patcher script on your chosen base font. During the process, you’ll select which icon sets to include.
Running the Nerd Fonts Patcher Script
To run the patcher, navigate to the directory where Nerd Fonts Tools are installed. Use the command line to execute the patching script, specifying your base font file. The script will process the font by embedding the necessary glyphs from various icon sets.
Selecting Options for Glyph Inclusion
During the patching process, you can choose which glyphs and icon sets to include based on your needs. Options typically include popular sets like Font Awesome, Devicons, and Powerline symbols. Selecting only the required icons keeps the font size manageable and prevents clutter.
Some tools also allow customization of specific glyph styles or replacements for certain characters.
Saving and Installing Your Patched Font
Once patching is complete, save the new font file with a unique name that indicates it has been patched FiraCode Nerd Font Patched.ttf. Install the font by copying it to your system’s font directory or using your OS’s font manager. On Windows, this usually means right-clicking and selecting Install.
Testing Your Patched Font in Development Environments
After installation, set your patched font in your code editor or terminal to test its functionality. Open VSCode or your preferred terminal and select the patched font in the font settings. Verify that ligatures, icons, and symbols display correctly in your workflow.
Setting the Font in VSCode and Terminal
Open Settings in VS Code and search for Font Family.
Add the exact name of your patched font to the list.
For terminals (Windows Terminal, iTerm2), adjust the font settings to use the patched font.
Restart the application to ensure all glyphs and icons display correctly.
Checking for Proper Ligatures and Icon Rendering
Check if your patched font renders ligatures smoothly by typing common ligature combinations such as in VS Code. Also, verify that Nerd Fonts icons, such as folder or git symbols, appear correctly in your terminal or editor plugins. Improper rendering may indicate an incomplete patch or a configuration issue.
Confirm that your editor supports ligatures and that no conflicting fonts are in use.
Troubleshooting Rendering Issues
- Verify that the patched font is selected in your editor or terminal settings.
- Clear font caches and restart your applications.
- Ensure the font patcher ran without errors and the font file isn’t corrupted.
- Update your editor or terminal to the latest version to fix rendering bugs.
- Check community forums or Nerd Fonts documentation for additional solutions.
Customizing Your Patched Font Further
Beyond patching, you can customize font size, weight, and other attributes in your editor or terminal settings for better readability. Adjusting these parameters can reduce eye strain and enhance your coding comfort. Some advanced users also tweak anti-aliasing or smoothing settings.
The flexibility of patched fonts allows you to tailor your workspace to your personal preferences and workflow demands.
Adjusting Font Size and Weight
Most editors let you easily change font size and weight to suit your viewing comfort. Increasing font size improves clarity but may reduce screen real estate. Weight changes affect the thickness of characters, with heavier fonts offering bolder text and lighter fonts being more subtle.
Experiment with these settings in VSCode or terminal preferences to find the ideal balance for your eyes.
Enabling Ligatures in VSCode
To enjoy programming ligatures in VSCode, enable the “Font Ligatures” option in the settings. This activates combined character renderings, such as into sleek single symbols, improving code readability. Ensure your patched font supports ligatures (such as FiraCode Nerd Font for VSCode).
Ligatures not only look nicer but also help you spot patterns and syntax faster.
Using Powerline Symbols and Additional Icons
Powerline symbols and other icons included in Nerd Fonts provide visual cues to enhance the status bars of your terminal and editor. These symbols represent Git status, file types, and other metadata, allowing you to view them at a glance. Using these icons makes navigation and monitoring easier without cluttering the interface.
Common Mistakes to Avoid When Patching Fonts
Patching fonts can be simple, but beginners often make avoidable mistakes. Using unsupported font formats, such as web fonts or corrupt files, will cause errors during patching. Always back up your original fonts before starting to prevent accidental data loss. Ignoring license restrictions can lead to legal trouble.
Unsupported Font Formats
Not all font formats work with Nerd Fonts Tools. The patcher typically supports only TrueType (.ttf) and OpenType (.otf) files. Attempting to patch formats like WOFF or proprietary fonts may result in failure or corrupted output. Verify your font format before starting to avoid wasted time.
Forgetting to Back Up Original Fonts
One of the most straightforward but most critical steps is backing up your original fonts. If something goes wrong during patching, you can quickly restore the original file. Skipping this step risks permanent loss or overwriting of your base fonts. Keep backups organized in a separate folder and clearly label the patched files versus the original files.
Ignoring License Restrictions
Fonts often come with specific licenses that dictate how you can use or modify them. Failing to comply with these license terms when patching can lead to legal and ethical issues. Always read the font’s license carefully before applying patches. If the font is proprietary or restricts modification, consider using an open-source alternative.
Advanced Tips for Better Font Rendering
Improving font rendering can significantly enhance readability and reduce eye strain. Tweaking anti-aliasing settings in your OS or editor smooths out jagged edges. Using font rendering extensions or plugins in VS Code can optimize the display of ligatures and icons.
Tweaking Anti-Aliasing Settings
Anti-aliasing smooths font edges to prevent pixelation and roughness. Adjust these settings through your OS display preferences or graphics drivers for optimal results. Some editors allow fine-tuning of anti-aliasing levels or styles, such as grayscale or subpixel rendering.
Using Font Rendering Extensions in VSCode
VS Code supports extensions that enhance font rendering and ligature support. Extensions like “Better Font Rendering” or “Custom CSS and JS Loader” can help refine the appearance of your patched fonts. They enable features not available by default, such as advanced smoothing or icon alignment fixes.
Optimizing for Different Display Types
Different screens require different font rendering settings. High-DPI displays, such as Retina, benefit from sharper rendering techniques, while standard LCDs may require adjusted hinting. Knowing your display type helps you pick the correct font settings for maximum clarity.
Conclusion and Best Practices
Patching your font with Nerd Fonts Tools unlocks powerful customization for developers and designers alike. Always keep your patched fonts updated to benefit from the latest icons and fixes. Combine Nerd Fonts with other developer tools for a smoother workflow.
Keeping Patched Fonts Updated
The Nerd Fonts project regularly updates its glyph sets and patching tools. Staying updated means you get new icons, bug fixes, and improved compatibility. Periodically check the official Nerd Fonts repository for updates and reapply any necessary patches to your fonts.
Combining Nerd Fonts with Other Developer Tools
Nerd Fonts complements popular developer tools, such as Oh My Zsh, Powerlevel10k and tux by providing essential icons and symbols. Integrating patched fonts with these tools enhances status line prompts and UI elements. This synergy creates a more informative and visually appealing terminal and editor setup.
Conclusion
Patching your font with Nerd Fonts Tools is a powerful way to enhance your coding and design environment. By combining popular base fonts like FiraCode Nerd Font with VSCode, along with a vast collection of icons and glyphs, you create a more functional and visually appealing workspace.
Following the proper steps from preparing your font to customizing and troubleshooting ensures smooth integration and optimal performance.
FAQs
How do I know if my font can be patched with Nerd Fonts Tools?
Your font must be in TrueType (.ttf) or OpenType (.otf) format to be compatible. Nerd Fonts Tools support most programming fonts but may not work with proprietary or web fonts. Check your font file format and test it with the patcher; if errors occur, the format is likely unsupported.
Is FiraCode Nerd Font VSCode better than the default VSCode fonts?
Yes, FiraCode Nerd Font VSCode combines beautiful programming ligatures with extra developer icons, enhancing code readability and workflow. Default VSCode fonts usually lack these features, making FiraCode Nerd Font a popular upgrade for developers.
Do patched fonts slow down VSCode or terminal performance?
Generally, patched fonts do not noticeably affect performance. They are optimized to load quickly and efficiently. However, huge fonts with many glyphs might slightly increase memory usage, but the impact is minimal in typical development environments.
Can I patch multiple fonts simultaneously?
While Nerd Fonts Tools focus on patching one font per run, you can automate the process using scripts to patch multiple fonts sequentially. This requires some command-line knowledge but is feasible for advanced users.
Are Nerd Fonts free for commercial use?
Most Nerd Fonts are open-source and free for both personal and commercial use, but licenses vary depending on the original font and icon sets included. Always check individual font licenses before using them commercially to ensure compliance with the terms of the license.
What’s the difference between Nerd Fonts and Powerline fonts?
Nerd Fonts include a much larger collection of icons and glyphs, merging multiple icon sets, while Powerline fonts mainly provide symbols for status lines in terminals. Nerd Fonts offer broader compatibility and more visual options compared to the simpler Powerline fonts.
Latest post: